APEX as a PWA: Part 3
Part 3: JavaScript Recap
This blog post series intends to cover everything there is to know about turning an APEX application into a Progressive Web App.
This documentation is also available on GitHub.
APEX as a PWA: The Complete Guide
- Part 1: Introducing Progressive Web Apps
- Part 2: Setup and Development Tips
- Part 3: JavaScript Recap
- Part 4: Installing an APEX App into a Mobile Device
- Part 5: Using an APEX App Offline
- Part 6: Handling Background Sync
- Part 7: Sending Push Notifications
- Part 8: Final Thoughts
Part 3: Table of Content
Synchronous JavaScript
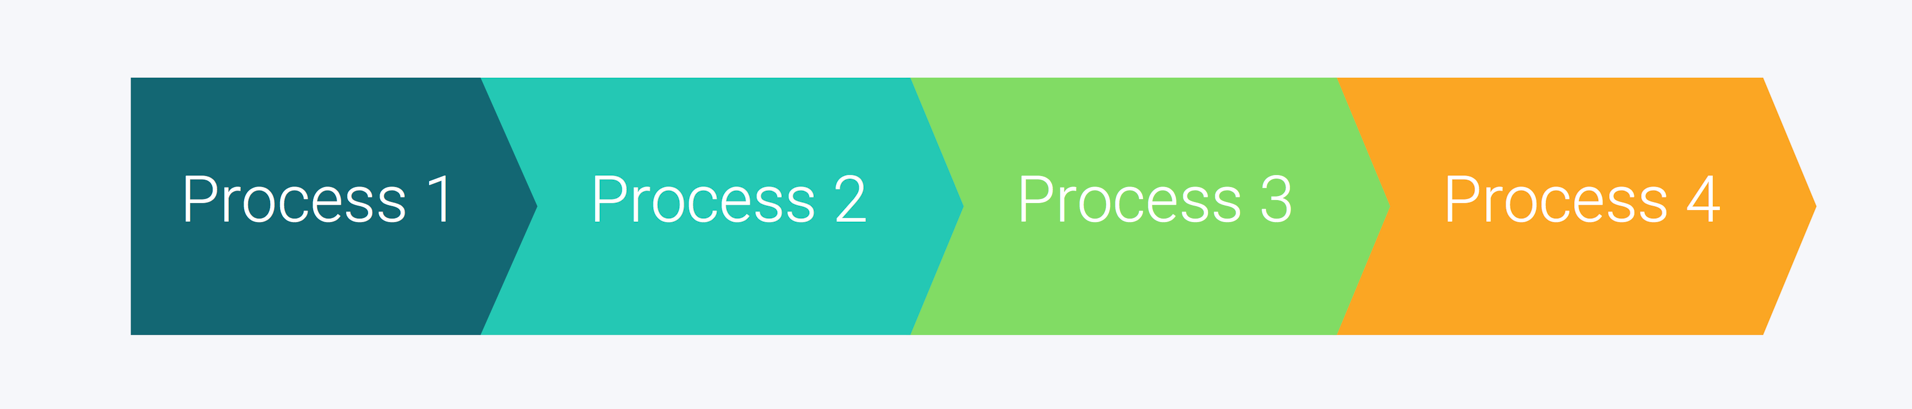
Let’s start with synchronous JavaScript. This should feel familiar to most APEX developers because PL/SQL is mostly used this way. If we have 4 functions to execute back to back, this is how it'll go:
- Function 1 starts and ends
- Function 2 starts and ends
- Function 3 starts and ends
- Function 4 starts and ends
Simple.
The goods: Synchronous JavaScript is easy to read and easy to write. Executing sequentially from top to bottom, it's more logical to the human eye.
The bads: Synchronous JavaScript is slower, because while it's executing, it blocks the user interaction. On a web page, a synchronous JavaScript process will prevent the user from scrolling or clicking anywhere until the process is completed, feeling like the page is hanging indefinitely.
Bottom line: synchronous coding is not the way to go in JavaScript.
Asynchronous JavaScript
Asynchronous coding is the opposite ideology. Functions are still launched sequentially, but they're not waiting on the code to complete until executing the next line. If we launch 4 functions again, depending on their execution time, this is how it could go:
- Function 1 starts (will take 3 seconds)
- Function 2 starts (will take 2 seconds)
- Function 3 starts (will take 1 seconds)
- Function 4 starts (will take 4 seconds)
- Function 3 ends
- Function 2 ends
- Function 1 ends
- Function 4 ends
Think of it as threads.

APEX Example:
console.log(1);

apex.server.process(
  "something", {}, {
    success: function (data) {
      console.log(2);
    }
  }
);

console.log(3);
Reading from top to bottom in a synchronous way, we would expect the outcome to be:
1
2
3
But apex.server.process is asynchronous, resulting in the following outcome:
1
3
2
The goods: Asynchronous JavaScript is faster and more efficient.
The bads: Asynchronous JavaScript makes the code less readable, as it introduces callbacks which leads to a very heavy indented code.
Promises
Promises help writing better asynchronous JavaScript. A promise is an object that returns asynchronous code. When invoking a promise, it’s defined as Pending, meaning that the code hasn’t finished executing yet.
A promise will remain Pending until the code has finished executing. When it does finish, a promise either becomes Resolved or Rejected, whether it succeeded or failed.
Let’s take apex.server.process as an example because it returns a promise:
var something = function (param1) { // (1)
  return apex.server.process(
    "process_name", {
      x01: param1
    }
  );
};

something(1) // (2)
  .then(function (data) { // (3)
    console.log("something is resolved:", data);
  }, function (err) { // (4)
    console.error("something is rejected:", err);
  });
Observations:
- Declaring a function called
somethingand all it does is returning the result of an application process calledprocess_name. - Invoking the JavaScript function
something()will trigger the application process without blocking the page interaction. - If the application process goes well, the promise becomes Resolved and we can use the
.then()syntax to indicate what to do next. - If the application process fails for any reason, the promise becomes Rejected and we are able to catch the error.
The goods: Finally logical, top to bottom asynchronous JavaScript.
The bads: Generates a lot of syntax sugar around the code.
For more info, I wrote a blog post just on promises in APEX.
Async / Await
Async & Await introduces a cleaner way to deal with promises. Let’s turn the example from above into using Async & Await:
async function something(param1) { // (1)
  return apex.server.process(
    "process_name", {
      x01: param1
    });
}

try {
  var result = await something(1); // (2)
  console.log('something', result);
} catch (err) { // (3)
  console.error(err);
}
Observations:
- First we indicate that the function
somethingis anasyncfunction. - Then we can await
something. This will wait untilsomethingis Resolved before moving forward. - The recommended approach for error handling is a simple
try {} catch {}.
The goods: Using Async / Await goes back to the root of writing simple synchronous code, while benefiting from the asynchronous & promises perks.
The bads: Nothing that I can think of (yet).
For more info, I wrote a blog post just on Async / Await in APEX.
Namespaces
Namespaces are used to cut JavaScript into smaller modules, giving context to functions. It's the equivalent of PL/SQL packages.
In this guide, all the code is using the following namespace structure:
/**
* @namespace pwa
**/
var pwa = pwa || {};

/**
* @module app
**/
pwa.app = {
  /**
  * @function init
  * @example pwa.app.init();
  **/
  init: function () {
    // Insert JavaScript here
  }
};
To call the init function above, we would have to use pwa.app.init();.
For more info, I wrote a blog post just on JavaScript namespaces in APEX.
That should cover the JavaScript techniques we'll be using all over this guide. Let's head to Part 4: Installing an APEX App into a Mobile Device, where we will tackle the first PWA feature.